From Commits to DAGs: How Git Uses a DAG to Track Your Code History

Most developers use Git daily, often memorizing commands without fully understanding what happens under the hood. We know how to use git add and git commit, but do we really know how it works?
At its core, Git is a simple key-value data store. It is a database, and understanding its fundamental unit—the commit—is crucial to mastering it.
In this blog, we will demystify Git by exploring its internal structure, starting with the most important building block.
What Is a Commit?
A commit is not just a diff; it represents the state of your project at a specific moment in time.
Internally, a commit points to a tree object, which in turn points to blob objects (the actual file contents). Git uses content-addressable storage, so unchanged files are not duplicated—they are simply referenced again.
Each commit has 3 things.
- Snapshot: Pointer to the project's directory tree.
- Metadata: Author, timestamp, and message.
- Parent: Pointer to the previous commit.
This creates a chain where each commit points to its parent, tracing back to the initial commit.
The first commit has no parent and is called the root commit.
A merge commit typically has 2 parents.
We will explore more about Git below.
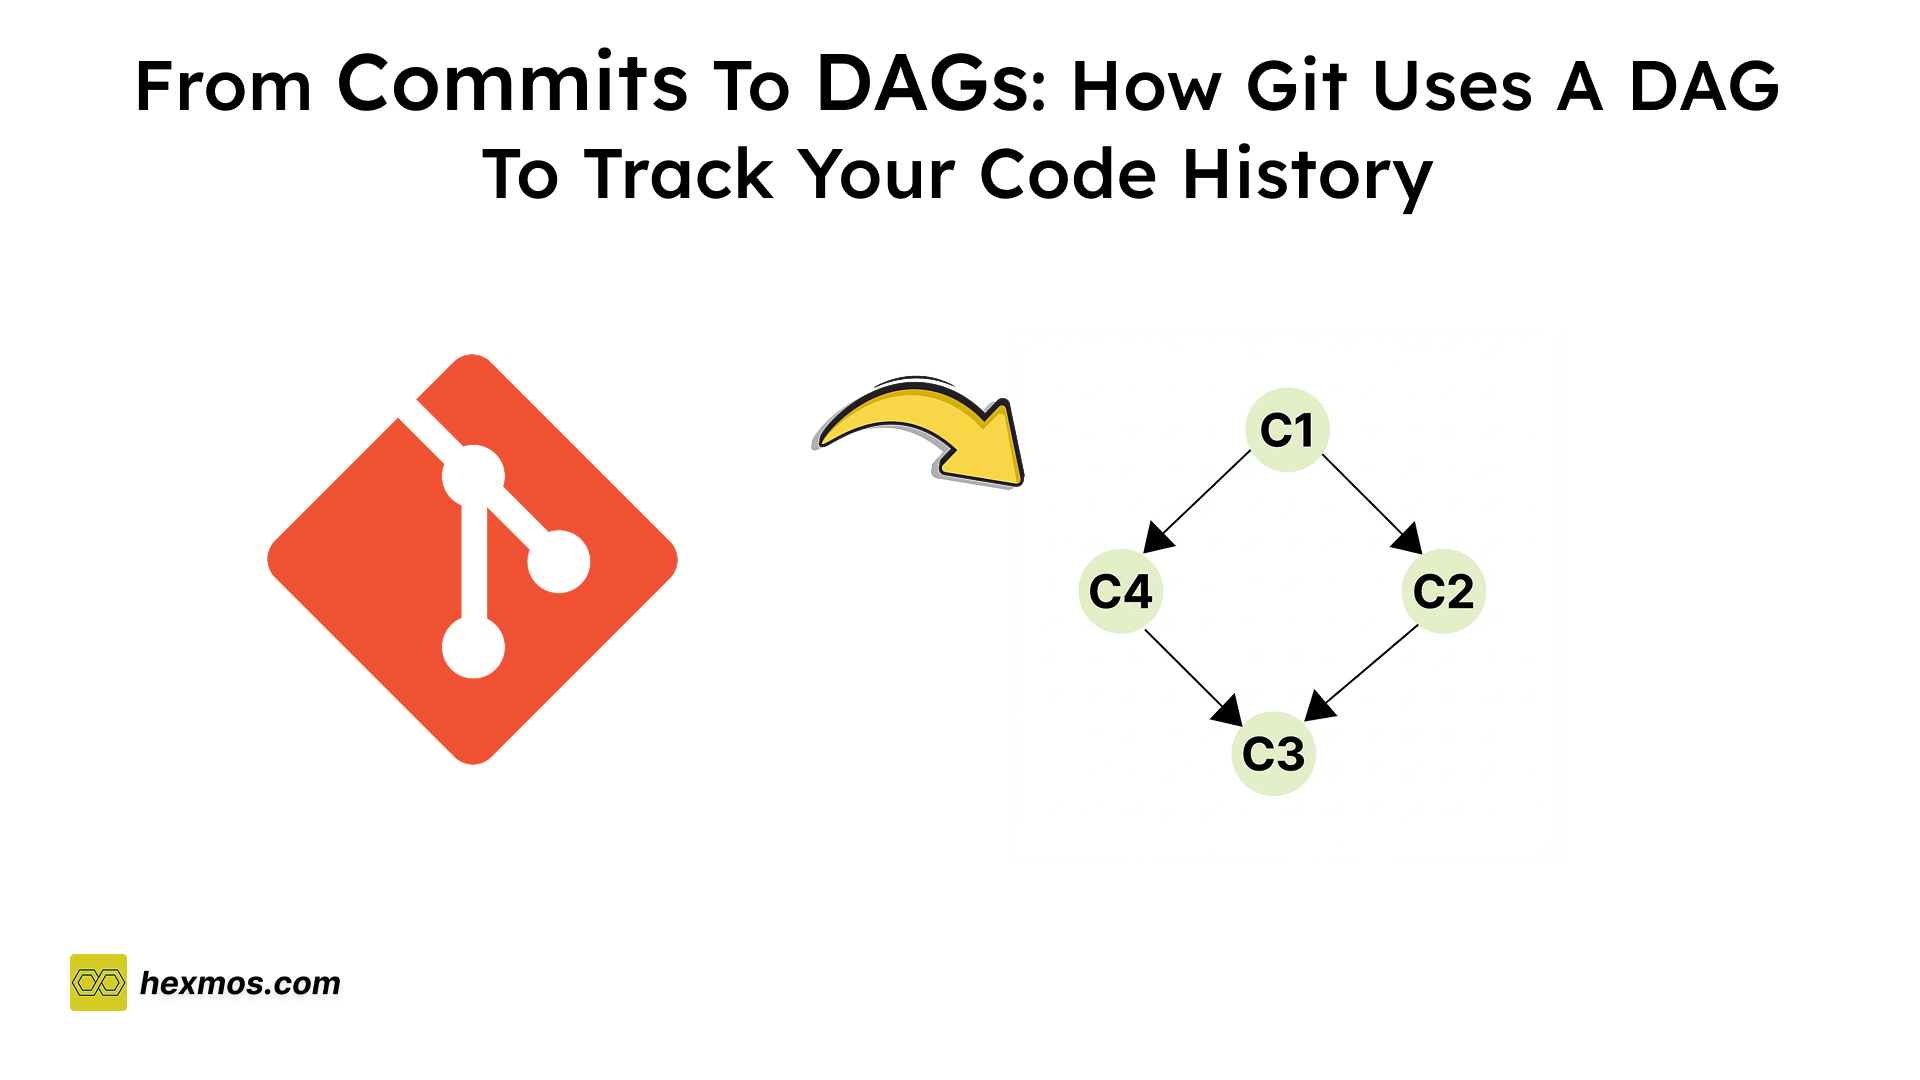
Why Git Uses a DAG

Each commit contains a Snapshot, Metadata, and the parent commit ID.
Each commit points to its parent.
Hence, there is no way for the commit history to form a cycle or loop.
This structure is known as a Directed Acyclic Graph (DAG).
The resulting graph contains the history of every commit, capturing every decision made by the developer.
This makes Git powerful, as we can return to the state of any past commit.
How Branching Works
A common misconception is that a branch contains a full copy of the project files. This is not how Git works.
A branch is simply a lightweight movable pointer to a commit. It doesn't contain files; the commit it points to references a tree object, which in turn points to the files (blobs).
Let's understand with an example.
Master Branch.

Create New Branch
git checkout -b iss53
# Switched to a new branch "iss53"

Commit changes

If you want to change anything in the master branch
Checkout to the branch
git checkout master
Switched to branch 'master'
And commit changes


We will understand how Git knows in which commit we are working and the structure of git.
HEAD: The Pointer for Git Commits
Git uses a special pointer called HEAD to track the current location. HEAD usually points to the current branch name, which in turn points to the latest commit.
Let's assume we are in the main branch.
HEAD points to main, and main points to the latest commit.
Commit will be your current location.
If we want to create a branch "feature"
git checkout feature
Suppose we want to check a specific commit. We will use git to point to the specific commit. This will be known as detached HEAD. There will be no branch pointing between head and commit.
Actually, we can commit a few more changes. But when we switch to a different commit, it will be orphaned, and no branch will be pointing to it; this will be known as an orphaned commit.
Git's garbage collector will eventually delete these unreachable commits (usually after 30 days by default).
Actual Reality: We usually try to see in old commits in detached mode. We fix and commit changes. When we move back to the main branch, all commits will be lost.
That is why git warns that the head is in detached mode.
The Structure of Git
Git has 3 stages:
- Working Directory: This consists of the actual files on your disk that you are currently modifying.
- Staging Area (Index): A file that stores information about what will go into your next commit. (Uses
git add .) - Repository: Database of commits, also called permanent history. (Uses
git commit -m "update")
Git Undo Commands
In this section, we will look at git checkout, git reset, and git revert.
These three commands are all used to undo changes, but they function differently, which can often be confusing.
Git Checkout
This command will move only the head.
Git head is now pointing to c3.

Now, when we check out to c1
git checkout c1

Now, the head is detached, and it is pointing to c1.
Note: No commits are changed, no history is changed, and no branch is moved.
This means we are just seeing changes made in a particular commit.
Git Reset
Git reset is more powerful than checkout because it moves the branch pointer itself, not just the HEAD.
Here we have 4 commits
When we use git reset c1

Head moves, and remaining commits will be orphaned.
-
--soft
Moves HEAD to the target commit. Staged changes and working directory are preserved (changes appear as staged). -
--mixed(Default)
Moves HEAD to the target commit. Staging area is reset to match the commit, but working directory is preserved (changes appear as modified but unstaged). -
--hard
Moves HEAD to the target commit. Staging area and working directory are reset to match the commit (all uncommitted changes are lost).
Git Revert
This command creates a new commit that undoes the changes made in a previous commit. It does not remove the old commit from history.
For example:
I want to remove c1 from the main branch.

Git creates a new commit that is the exact opposite of c1, effectively canceling out the changes while keeping the history intact.

Summary of Undo Commands
Here, a simple overview.
| Command | What moves? | Risk Level | Primary Use Case |
|---|---|---|---|
git checkout |
HEAD only | Safe | Exploring old history (read-only view) |
git reset |
HEAD & Branch Ref | High | Rewriting local history (undoing recent commits) |
git revert |
HEAD (New Commit) | Safe | Undoing changes in shared/public history |
Git Rebase
When you create a new branch and start committing changes, you create a divergent history (DAG) for that branch.
# 1. Create and switch to a new branch
git checkout -b new-feature

# 2. Make some commits
git add .
git commit -m "D"
Meanwhile, other contributors may have pushed new commits to the main branch, meaning your branch is now behind.
# Switch to main and pull latest changes
git checkout main
git pull origin main
When you perform a rebase, Git takes the commits from your new branch and "replays" them on top of the latest commit of the main branch.

Once the rebase is done, the original commits from your new branch are orphaned (no longer used), and your branch now has a clean, linear history extending from the latest main.

Note: If you run into conflicts during the rebase, fix the files, add them, and run:
git rebase --continue
Here are commands to work with it.
| Command | Description |
|---|---|
git checkout -b <branch> |
Creates and switches to a new branch. |
git rebase main |
Moves your current branch's commits to the tip of main. |
git rebase --continue |
Continues the rebase process after resolving conflicts. |
git rebase --abort |
Stops the rebase and returns the branch to its original state. |
Conclusion
This blog post provides a detailed introduction to Git, version control, and related concepts.
However, it is obvious that I have missed out on some important topics like merge conflicts and pull requests. I tried to explain the importance of version control in software development and then explain what Git is.

I’ve been building for FreeDevTools.
A collection of UI/UX-focused tools crafted to simplify workflows, save time, and reduce friction when searching for tools and materials.
Any feedback or contributions are welcome!
It’s online, open-source, and ready for anyone to use.
👉 Check it out: FreeDevTools
⭐ Star it on GitHub: freedevtools