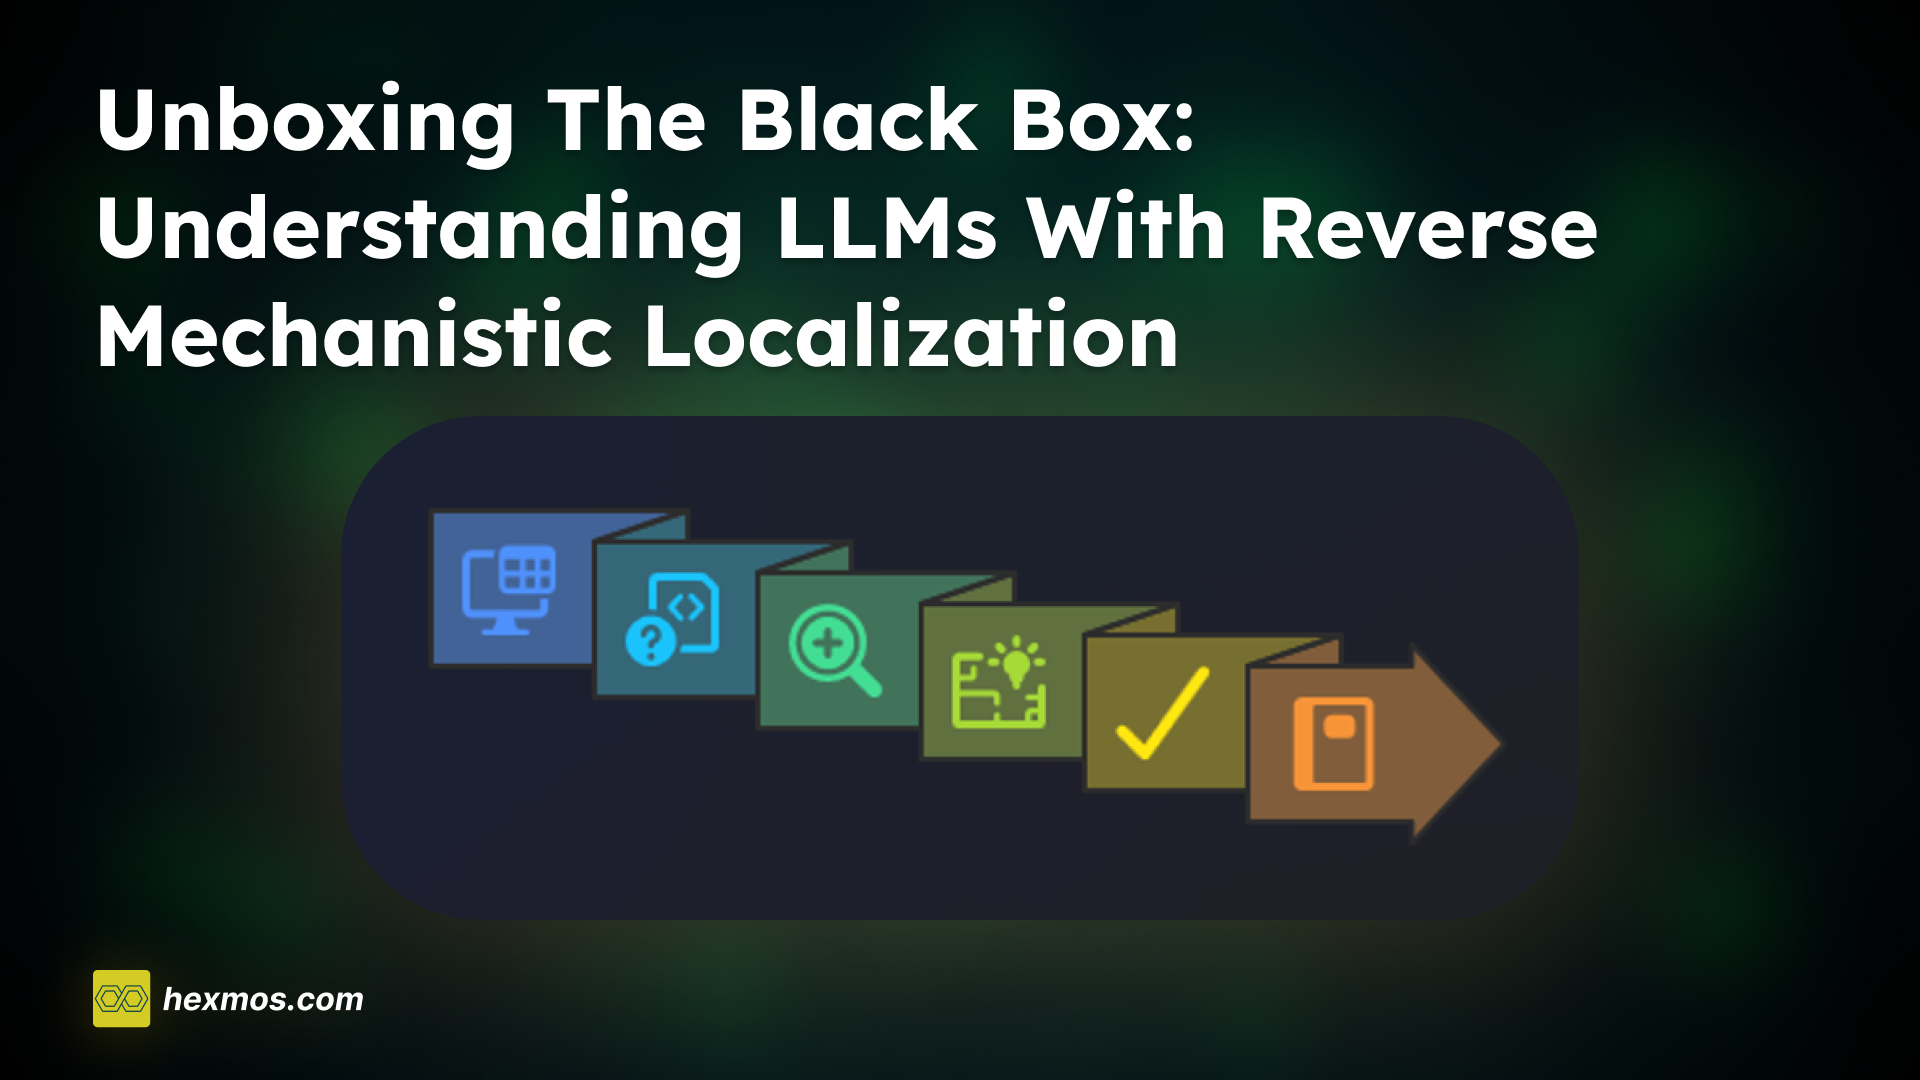
Unboxing the Black Box: Understanding LLMs with Reverse Mechanistic Localization
Instead of just treating LLMs as black boxes, RML helps us understand which parts of the model contribute to specific outputs.
Imagine you’re listening to your favorite band. Suddenly, in one song, there’s a guitar solo that gives you goosebumps. You ask yourself:
“Who in the band is responsible for that part?”
That’s kind of what Reverse Mechanistic Localization (RML) is about, but instead of a band, you’re looking inside a computer program or AI model to figure out what part of it is responsible for a certain behavior.
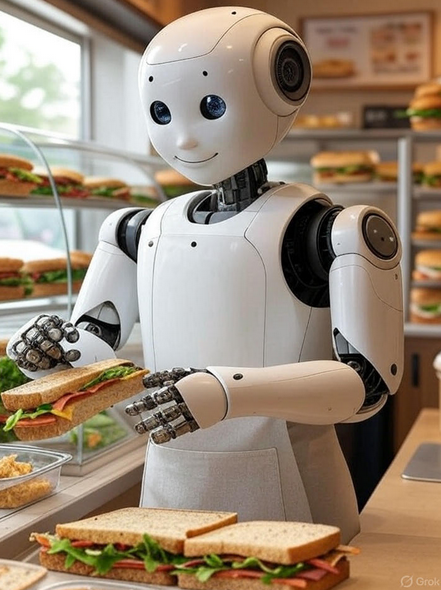
A Simple Analogy: The Sandwich-Making Robot
Say you built a robot that makes sandwiches.
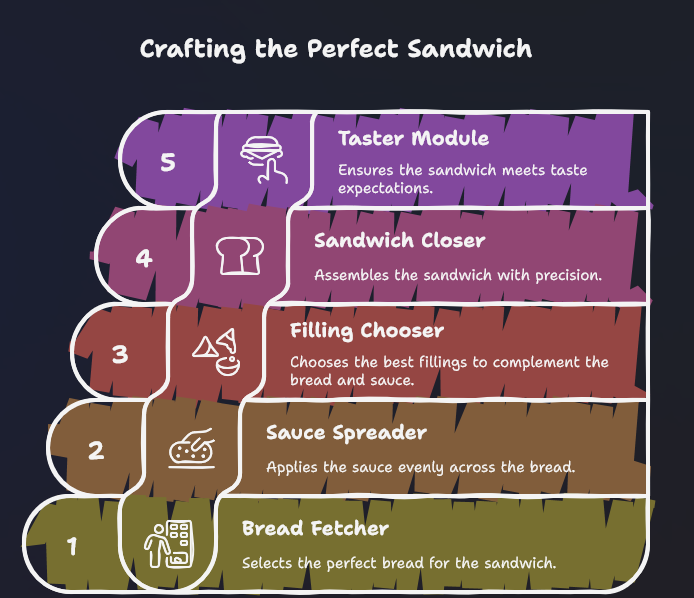
It has 5 parts:
- Bread Fetcher
- Sauce Spreader
- Filling Chooser
- Sandwich Closer
- Taster Module
Now, one day, the robot starts adding peanut butter in every sandwich unexpectedly.
You're puzzled. You didn't ask it to always do that. So now you want to figure out which part of the robot is responsible for this peanut butter obsession.
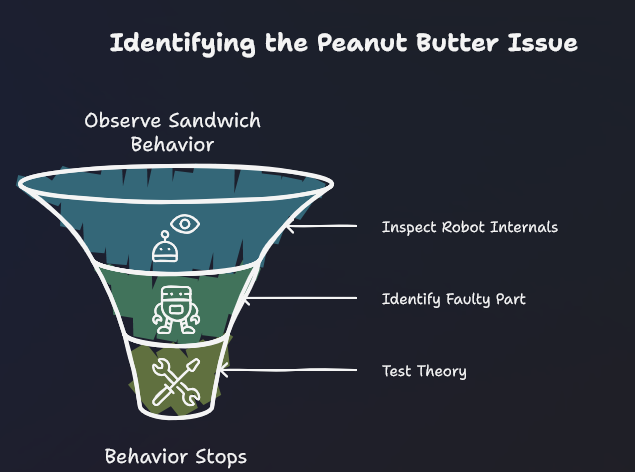
Here’s how RML helps:
- You observe the behavior (every sandwich has peanut butter).
- You look inside the robot and trace what happens during sandwich-making.
- You figure out which internal part (maybe “Filling Chooser”) is consistently choosing peanut butter.
- You test that theory by changing or removing the "Filling Chooser" and see if the behavior stops.
That’s exactly what RML does—but inside a machine learning model like ChatGPT, image classifiers, or recommendation systems.
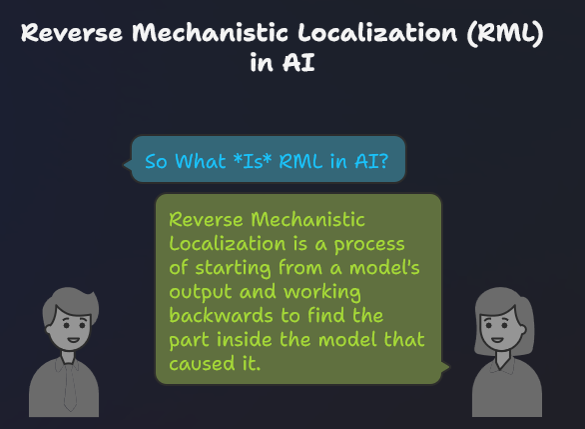
So What Is RML in AI?
Reverse Mechanistic Localization is a fancy term for this process:
Starting from something a model did → and working backwards → to find which part inside the model caused it.
That "part" could be:
- A specific neuron (small computing unit),
- An attention head (used in models like ChatGPT),
- A layer in a neural network,
- Or even a combination of those.
Real-Life Example: Image Classifier Confusion
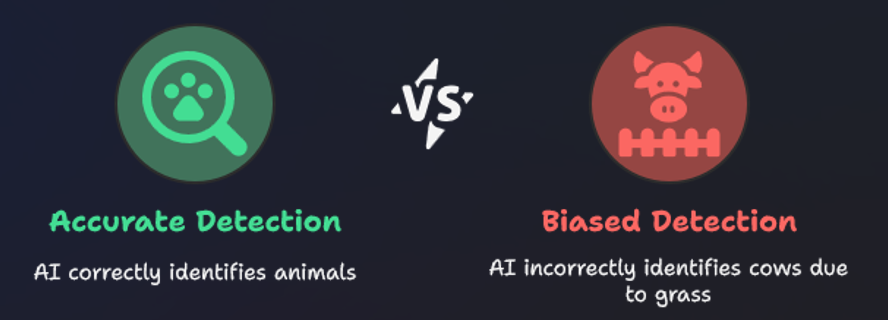
Let’s say you built an AI to detect animals in photos.
But you notice something weird: whenever there’s grass, the model always says “cow” — even if there’s no cow in sight.
Now, you’re curious:
“Why is the model saying cow when there’s just grass?”
Here’s how you use RML:
- Step 1: Observe the mistake
- The model says “cow” when it sees grass.
- Step 2: Look inside the model
- You check which parts of the model are active (firing) when it predicts “cow”.
- Step 3: Find the cause
- You realize one part of the model always activates when grass is present—and it's strongly connected to the “cow” prediction.
- Step 4: Test it
- You turn off that part of the model. Now, when it sees grass, it doesn’t say “cow” anymore.
- You just found the mechanism that was causing the mistake. That’s Reverse Mechanistic Localization in action.
RML in LLMs: An Example
We’ll demonstrate Reverse Mechanistic Localization (RML) by asking a masked language model to guess a missing word and see which tokens influenced its prediction.
You can try this yourself on a Google colab Notebook which I created for this article.
Step 1: The Sentence
I like to eat [MASK] butter sandwiches
- Here,
[MASK]represents the missing word. We want to see what the model predicts and why. - When we read that text, we can quickly guess that the missing word is
peanut. - Lets see what influences the LLM to make the guess.
Step 2: Setup the Model
Lets start by defining a BERT model to do this example.
from transformers import AutoTokenizer, AutoModelForMaskedLM
import torch

# Load tokenizer and model
tokenizer = AutoTokenizer.from_pretrained("distilbert-base-uncased")
model = AutoModelForMaskedLM.from_pretrained("distilbert-base-uncased", output_attentions=True)
distilbert-base-uncased: A smaller, faster version of BERT trained on lowercase English text. “Uncased” means it ignores capitalization.AutoTokenizer: Converts words into token IDs the model understands.AutoModelForMaskedLM: Masked language model (MLM) that predicts missing words.output_attentions=True: Ensures the model returns attention maps (how tokens “look at” each other).
Step 3: Tokenize and Predict
Let's pass in the input to the model and make the LLM guess the missing word.
sentence = "I like to eat [MASK] butter sandwiches"
inputs = tokenizer(sentence.replace("[MASK]", tokenizer.mask_token), return_tensors="pt")

with torch.no_grad():
 outputs = model(**inputs)
 predictions = outputs.logits       # raw prediction scores for every token
 attentions = outputs.attentions    # attention maps from all layers
tokenizer.mask_tokenreplaces[MASK]with the model’s special mask token.torch.no_grad()disables gradient computation, which is only needed during training — we don’t need it for prediction, so this saves memory and speeds up computation.predictions(orlogits): raw scores for every token in the model’s vocabulary, at the position of[MASK].attentions: a list of tensors, each showing how much each token attends to every other token in that layer.
Step 4: Find the Masked Token Index and Top Prediction
Lets see which is the predicted token.
mask_index = (inputs["input_ids"] == tokenizer.mask_token_id).nonzero(as_tuple=True)[1]
predicted_id = predictions[0, mask_index].argmax(axis=-1)
print("Predicted token:", tokenizer.decode(predicted_id))
.argmax(axis=-1): selects the token with the highest score — the model’s top guess.tokenizer.decode(predicted_id): converts the token ID back into a human-readable word.
Output:
Predicted token: peanut
As you can see, the model made the prediction that the missing word is peanut.
Step 5: Look at Top Candidate Predictions
Let's take a look at the other options the model went through.
logits = predictions[0, mask_index, :]
probs = torch.softmax(logits, dim=-1)   # convert logits to probabilities

# Top 5 predictions
topk = torch.topk(probs, 5)
for token_id, score in zip(topk.indices[0], topk.values[0]):
    print(tokenizer.decode([token_id]), float(score))
torch.topk(probs, 5): returns the top 5 tokens and their probabilities.topk.indices→ token IDs of top predictions.topk.values→ probabilities of those tokens.
Example Output:
peanut 0.995
melted 0.0007
jelly 0.00025
cocoa 0.0002
chocolate 0.0002
“Peanut” is the dominant prediction, but the model considered other possibilities with much lower probability.
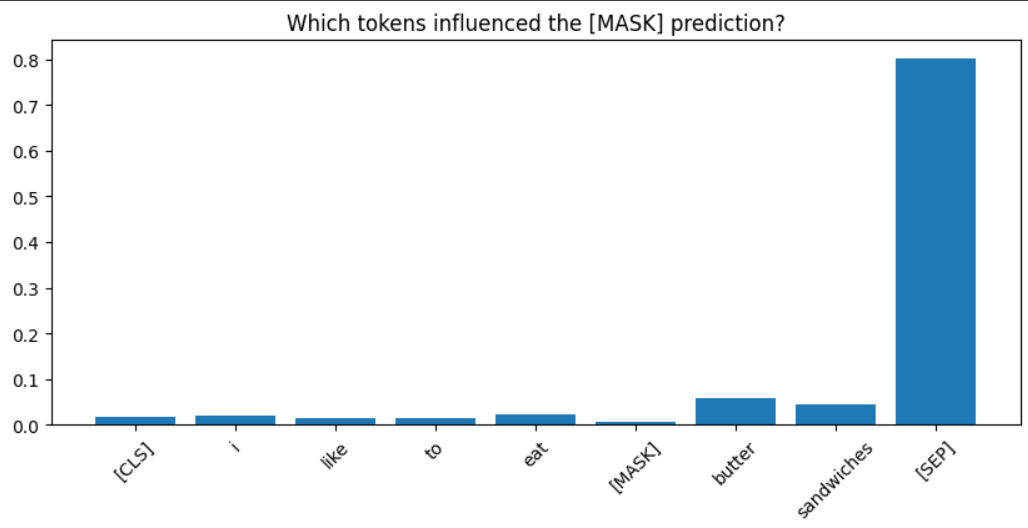
Step 6: Visualize Attention — Which Tokens Influenced [MASK]
We will now check which tokens have influenced the value of [MASK] (the missing word) the most.
import matplotlib.pyplot as plt
import numpy as np

# Convert token IDs to words
tokens = tokenizer.convert_ids_to_tokens(inputs["input_ids"][0])

# Last layer attention, focus on [MASK]
last_layer_attention = attentions[-1][0]   # shape: [num_heads, seq_len, seq_len]
mask_attention = last_layer_attention[:, mask_index, :].mean(dim=0).cpu().numpy()
mask_attention = np.squeeze(mask_attention)

# Plot attention for all tokens
plt.figure(figsize=(10,4))
plt.bar(range(len(tokens)), mask_attention)
plt.xticks(range(len(tokens)), tokens, rotation=45)
plt.title("Which tokens influenced the [MASK] prediction?")
plt.show()
[CLS]and[SEP]: special tokens —[CLS]marks sentence start,[SEP]marks sentence end or separates sentences. They often appear in attention maps but aren’t meaningful.
- Let's remove them and see which are the influential tokens.
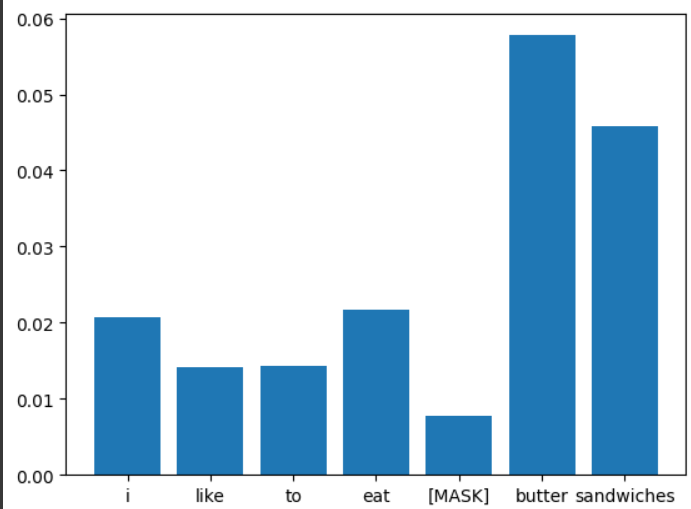
Step 7: Filter Out Special Tokens
valid_indices = [i for i, tok in enumerate(tokens) if tok not in ["[CLS]", "[SEP]"]]

plt.figure(figsize=(10,4))
plt.bar([tokens[i] for i in valid_indices], mask_attention[valid_indices])
plt.xticks(rotation=45)
plt.title("Influential tokens (filtered)")
plt.show()
- After filtering, “butter” stands out as the most influential token, explaining why the model predicted “peanut.”
Step 8: Prompt Variation — Influence Changes
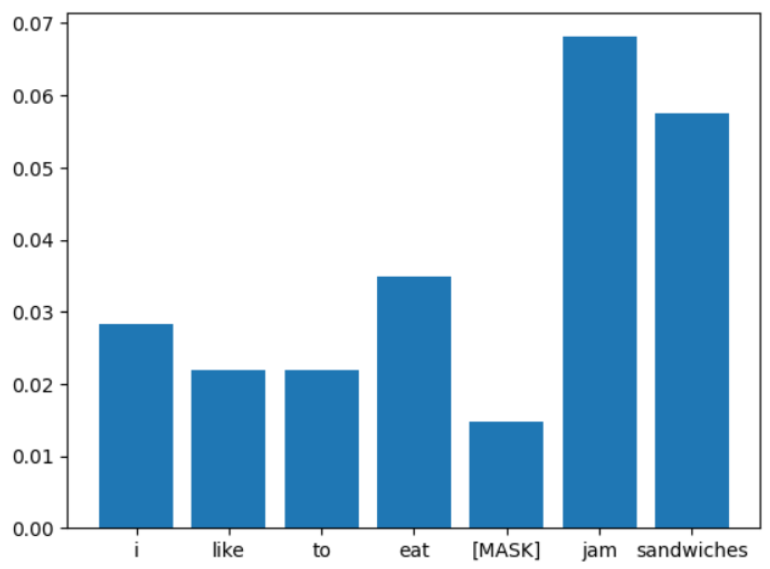
Let's now change the sentence slightly by using jam instead of butter
I like to eat [MASK] jam sandwiches
- Predicted token:
Predicted token: strawberry
Instead of peanut, now the predicted token is strawberry
- Top candidates:
strawberry 0.241
banana 0.093
homemade 0.079
peanut 0.059
jelly 0.030
- Attention visualization shows “jam” as the most influential token:
This gives us an idea of which tokens are influencing the output.
Why Bother Doing This?
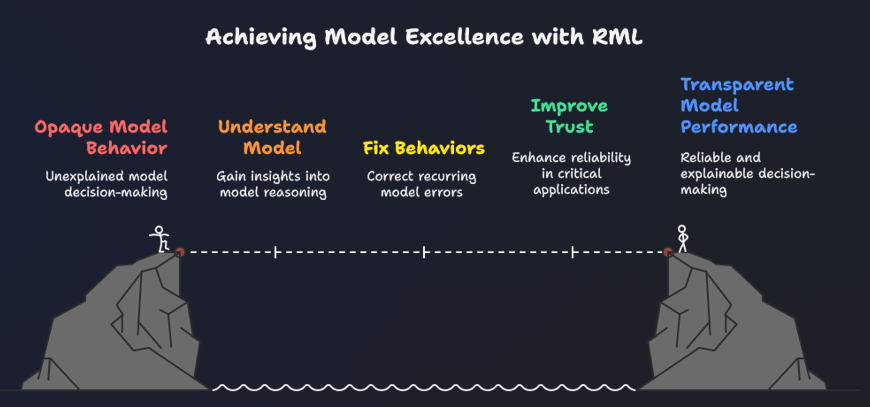
RML helps us:
- Understand models better — Like understanding how a student thinks, not just what answers they give.
- Fix weird behaviors — Like when the model makes the same mistake again and again.
- Improve trust — Especially important in things like medical AI or self-driving cars.
- Build better models — Once we know what went wrong inside, we can improve it.
Conclusion
If machine learning models are like black boxes, Reverse Mechanistic Localization is like being a detective inside the box.
It’s not just about seeing what comes out, but finding who or what inside is responsible.
Even if you’re just starting in AI, this idea will help you think more deeply about how models work not just what they do.
On that note, I’m currently building LiveReview, a private AI code review tool that runs on your LLM key (OpenAI, Gemini, etc.) with flat, no-seat pricing — designed for small teams.
LiveReview helps you get great feedback on your PR/MR in a few minutes.
Saves hours on every PR by giving fast, automated first-pass reviews. Helps both junior/senior engineers to go faster.
If you're tired of waiting for your peer to review your code or are not confident that they'll provide valid feedback, here's LiveReview for you.

