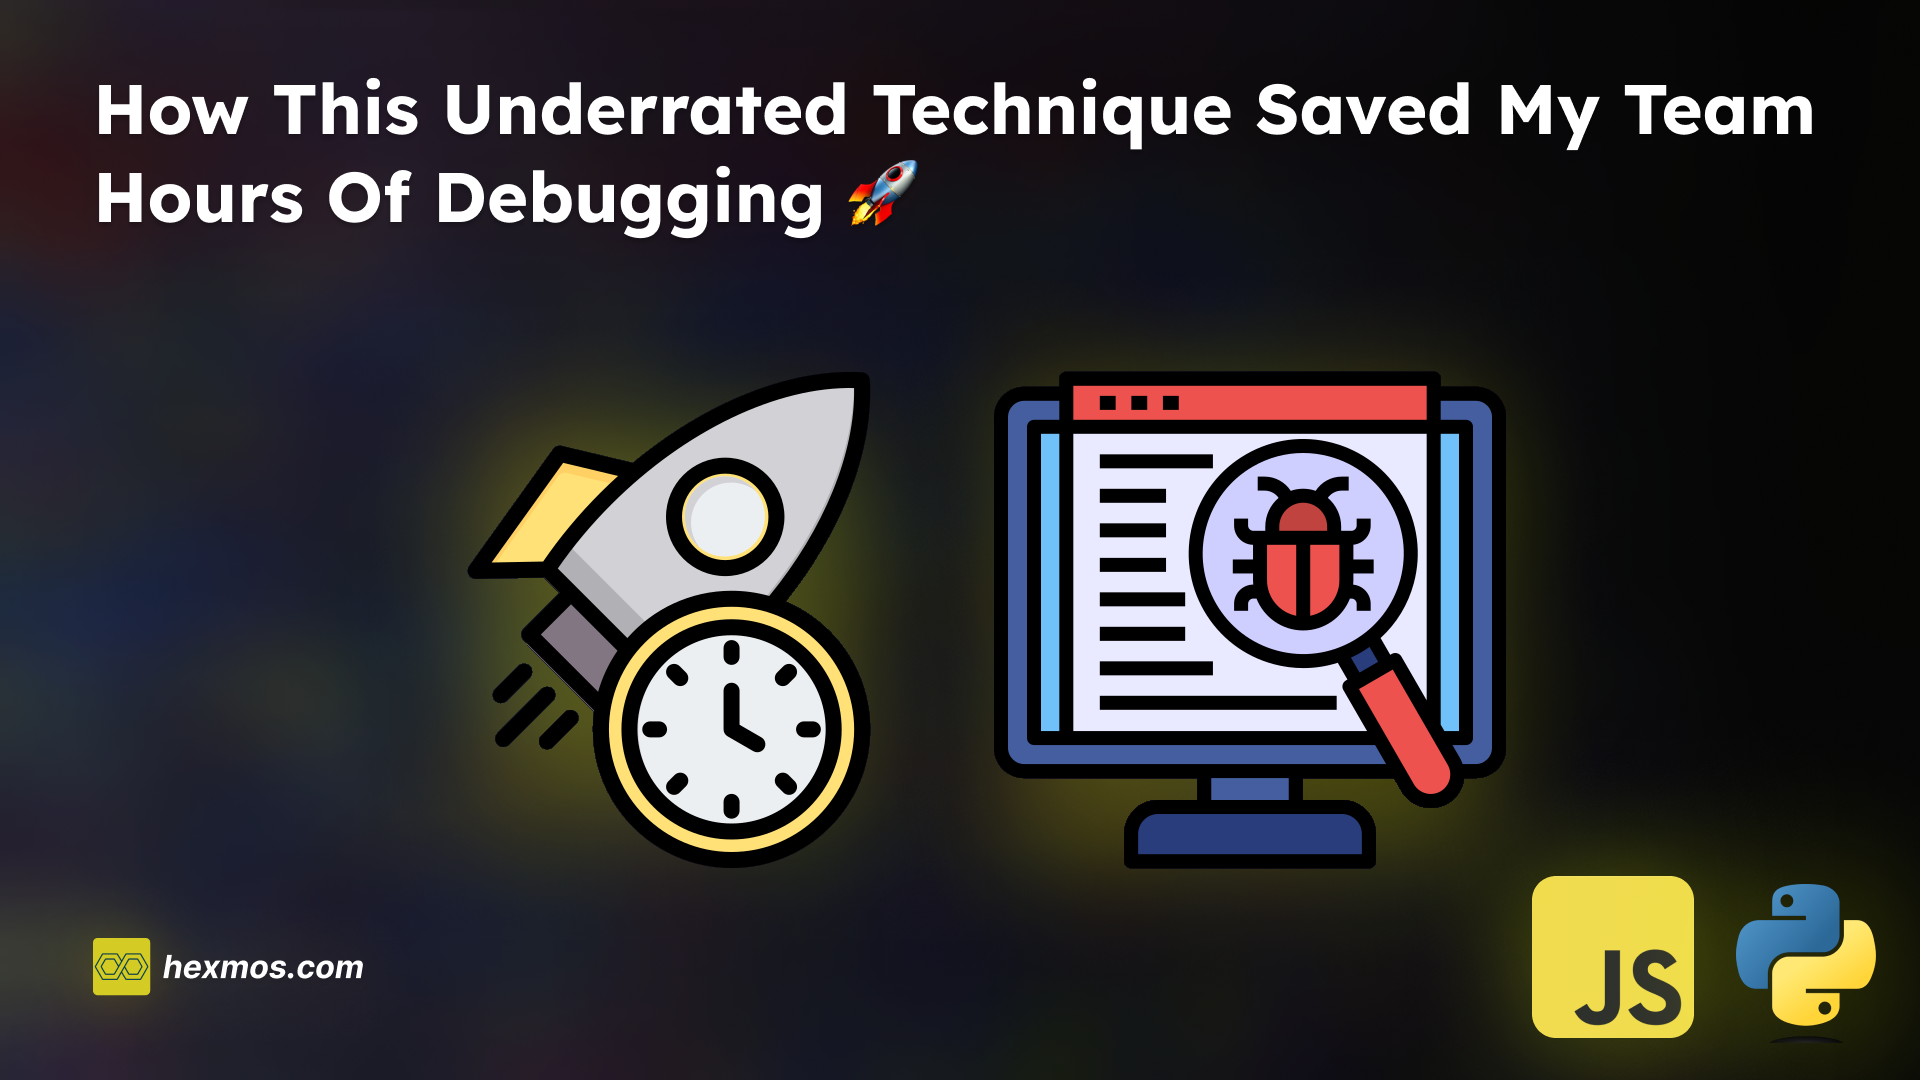
How This Underrated Technique Saved My Team Hours of Debugging

The Hurdles of Debugging: Time, Effort and Annoyance
Ever felt like you are stuck in a never-ending bunch of errors? The process of debugging can be frustrating, without proper methods it can cost us hours, effort and annoyance.
Consider this scenario: You are dealing with a bug in your app where the submit button is not working. Where's the first place you go? The logs.
Here is what our logs look like, There are 18 logs displayed.

Among the 18 logs, we need to manually find out the error log. In larger systems, the number of logs can add up. It takes lots of time and effort to find the relevant log.
How I Overcame the Hurdles
Seeing such hurdles, I had to find a technique to address this problem. The problem is that, there is too much information in the form of log lines written by various team members.
In most of the cases these logs are written without much care and don't provide value.
Due to lack of standards in code reviews, Logging Practices are inconsistent. This results in challenges for team members who need to get relevant information from these logs.
So, the solution is to set the standards for the team regarding Logging. For helping to setup the standards, we already have something that is collecting dust: Logging Levels. Not every team uses it to its fullest potential.
For those who don't know, Logging Levels are a way of categorizing the logs based on their severity and purpose.
So let's return to the same scenario: we have a problem to debug, and we are looking at the logs.

In the above image, from 18 logs I have filtered it down to 1 relevant log. I have done this using Logging Levels.
I used the devtools to display only logs at the error logging level. Amazing isn't it?
This is also pretty useful when working in teams. Any developer without previous experience in the app can jump into the problem directly without dealing with the confusion caused by the other logs.
Apply the Technique: Real-Life Examples
Frontend Code Using JavaScript
At the beginning of the article, I discussed about debugging an error related to the submit button not working. Now, let's look into that solution in detail.
You can see the problem where all the 18 logs are coming under one category, mixing up the usual logs and the error logs. So to solve this problem, just apply the Logging Levels.
Let's examine one file.
In the below code, there is no differentiation between the types of messages. We have a message to show the content and the error.
try {
  let content = await callAPI()
  console.log(content) // Normal Log
  // Rest of the code
} catch (error) {
  console.log(error) // Normal Log
}
This code can be fixed by changing the Logging Levels. Here, I have replaced them with console.info and console.error respectively.
try {
  let content = await callAPI()
  console.info(content) // console.log replaced with console.info
  // Rest of the code
} catch (error) {
  console.error(error) // console.log replaced with console.error
}
This way, the error and the informational logs will be differentiated, and we can filter out the logs based on the Logging Levels. This saves up a lot of time and keeps our workflow organized.
Backend Code Using Python
Now, let's see how Logging Levels can be applied to Python. I'll teach you this through an API. We will be using the logging module in python to do this.
I have an API below for doing some face recognition
I'm logging 3 things here
- Logging the face data
- Logging when an invalid photo is detected
- Logging when the face recognition is successful
The problem is that it fails sometimes. There are a lot of logs inside the server and its pretty difficult to find them. The errors and the normal logs here are mixed up, print is being used everywhere, This makes it difficult to get to the problem area.
import logging
def face_recognize(request):
        face_data = load_face_data()
        print("Face data is",face_data)  # Normal Print Statements
        if not face_data:
            print("Invalid photo detected")  # Normal Print Statements
        if is_face_matching() == True:
            print("Face Recognition successful")  # Normal Print Statements
We can fix this issue by applying the Logging Levels
import logging
def face_recognize(request):
        face_data = load_face_data()
        logging.debug("Face data is",face_data)  # Debug Logging Level
        if not face_data:
            logging.error("Invalid photo detected") # Warning Logging Level
        if is_face_matching() == True:
            logging.info("Face Recognition successful")  # info Logging Level
The logs will look something like this:
INFO:root:Starting face recognition
** ftype <class 'django.core.files.uploadedfile.InMemoryUploadedFile'>
DEBUG:root: Face data is {'encodings': , 'face_locations': , 'valid': None 'errors': []}
ERROR:root:Invalid photo detected
So, you can filter out this data using logging tools or by using grep commands on the logging file.
grep -E 'ERROR:' <log_file_name>

Learn the Technique: The Logging Levels

Let's go over the 5 Logging Levels to understand the technique better. The below section will help your team use each logging level at different scenarios.
We will be using JavaScript and Python for the examples.
1. DEBUG
Imagine you're trying to fix a problem in a program, but you're not exactly sure what's causing it. That's where the DEBUG Log Level comes in handy.
The DEBUG Log Level contains information useful for debugging when the program is not working properly.
Lets see some examples. For the DEBUG level in JavaScript, I will be using console.debug() method.
Example 1: I want to debug an issue with a variable for filter. I can use the DEBUG Level to monitor the variable selectedTime and check for issues.
console.debug("SELECTED TIME FILTER ", selectedTime)
Example 2: I want to debug an issue with the API, to check whether the contents are properly coming up. So I will be using the DEBUG Level to check the API response.
let content = await callAPI({
  url: `${urls.KARMA_ADMIN}/karmaweb/teamlist`,
  method: "POST",
  body: JSON.stringify(data),
  headers: headers,
})
console.debug("TEAM LIST -> ", content)
Example 3: There seems to be some issue with the payload for the API, So I can use the DEBUG Level to keep track of the payload and get insights on the issue.
let apiData = {
    org_name: loggedInOm.org.orgName,
    selected_day: selectedTime[pageName],
    team_name: selectedTeams[pageName],
}

console.debug("apiData -> ", apiData)
2. INFO
Imagine you're building an app and you want to keep track of what's happening, with regular updates about how things are going. That's where the INFO Logging Level comes into play.
When we want to display messages for normal app behaviour, we can use INFO Logging Level.
Lets see some examples. I will be using console.info() in JavaScript for the INFO Log Level.
Example 1: I want to determine whether the data is returned from an API or not. The INFO Log Level can be used to display such informational messages.
const results = await Promise.all(promises);
if (results && results.length > 0) {
    console.info("Data is available to be displayed")
else{
    console.info("Sorry, there is no data to be displayed")
}
Example 2: I want to see a log when the refresh page in my app is loaded. Here the INFO Log Level can be used.
function refreshPage() {
  console.info("In refresh page")
}
3. WARNING
Imagine you are working on your app. Everything runs smoothly, but there are a few things you want to keep an eye on—things that might not break the app right now, but could cause trouble down the road. That's where the WARN Log Level comes into play.
The WARN Log Level is used for reporting issues that doesn't impact the functionality of the app. But it requires your attention.
Lets see an example, I will be using console.warn() in JavaScript to represent WARN logging level in JavaScript.
Example: I am developing a library, and I want to make a function deprecated, I can alert the users by putting a message of WARN Logging Level.
function deprecated_function():
    console.warn("This function is deprecated and will be removed in the future.")
    # rest of the function logic
4. ERROR
Imagine you are working on your app. Everything's going smoothly, and then suddenly, you encounter a problem that's causing a bit of trouble. That's where the ERROR Logging Level comes into play.
The ERROR logging level is used to report issues that impact the app's functionality.
Let's see an example, I will be using console.error() to represent the ERROR Logging Level in JavaScript.
Example: The API that I called failed, so this affects the functionality of my app, I can use the ERROR Logging Level to bring this to my attention.
try {
    let ulist = await callAPI()
    return ulist["result"]
} catch (error) {
    console.error("getUserList", error)
    return {
        success: false,
        message: "Unable to retrieve user list data "
    }
}
5. FATAL
Imagine you're building an app, and everything's going smoothly.But then suddenly, you hit a major roadblock. Something goes really wrong, and your app just can't move forward. That's when FATAL logging level comes into play.
A FATAL log is a severe issue where our app will stop working completely. It's like hitting a roadblock that prevents any further progress.
Let's see an example. I will be using logging.fatal for representing the FATAL Logging Level in Python.
Example: I want to connect to a database for my Python server to work. But if it fails to connect, it prevents my server from doing any other tasks. Hence it's a fatal error.
import logging
def start_server():
    try:
        # Attempt to connect to the database
        db_conn = connect_to_database()
        logging.info("Server started successfully")
    except Exception as e:
        logging.fatal("Fatal error: Unable to start server: %s", e) # Fatal error due to database connection failure
        raise SystemExit(1)
Controlling What Logs to Show in Production
It's good to have different logging configurations for both production and development environments, as we don't want the DEBUG Logs to come up when using the app in production.
For Example, In Python you can configure only Logs of Level INFO and above in the production
import logging
if ENVIRONMENT == 'production':
    logging.basicConfig(level=logging.INFO)  # Show logs of INFO level and above in production
else:
    logging.basicConfig(level=logging.DEBUG)  # Show all logs during development
Conclusion
We can see how simple practices like implementing Logging Levels, can fix lot of problems.
When we use Logging Levels, it gives us a lot of clarity. We can simply choose what we want to see.
So, the examples that I have shown above are just an indication that this practice can be applied anywhere. It can be frontend, backend, or any other language.
There are many libraries like winston, pino, loguru and structlog. The libraries to choose are up to you. The basic things like the Python's logging module and Javascript console usually suffice.
Let's begin organizing and setting standards on what we're working on. It will not look like a quick fix towards your problems, but it will help you in the long run.