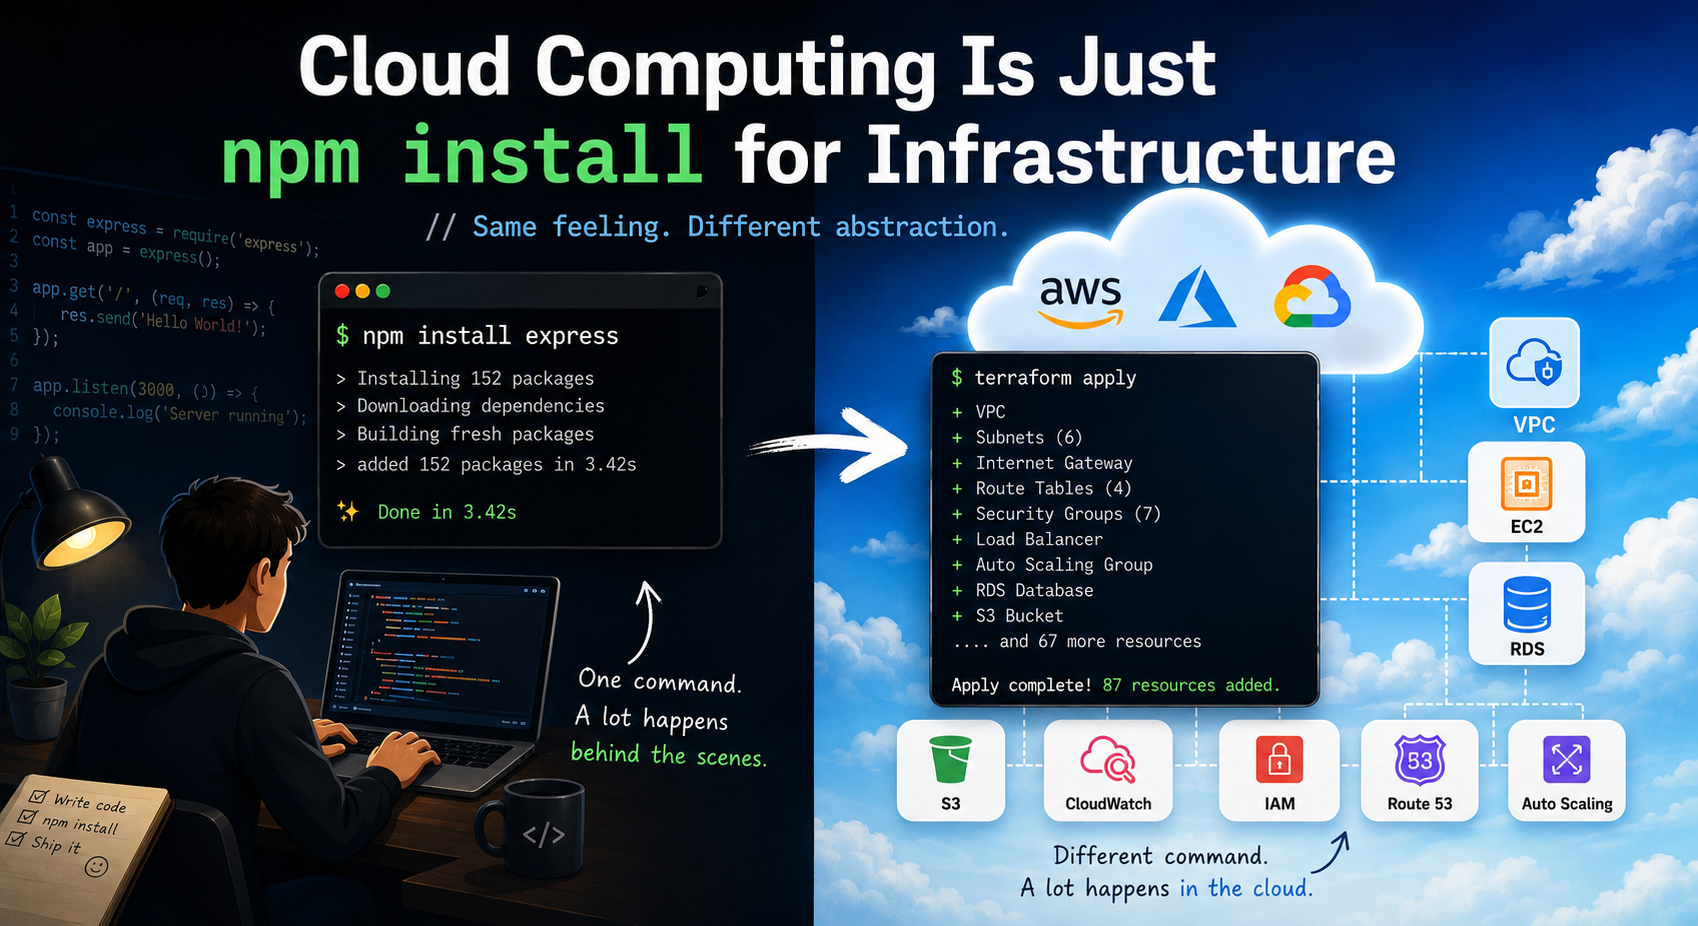
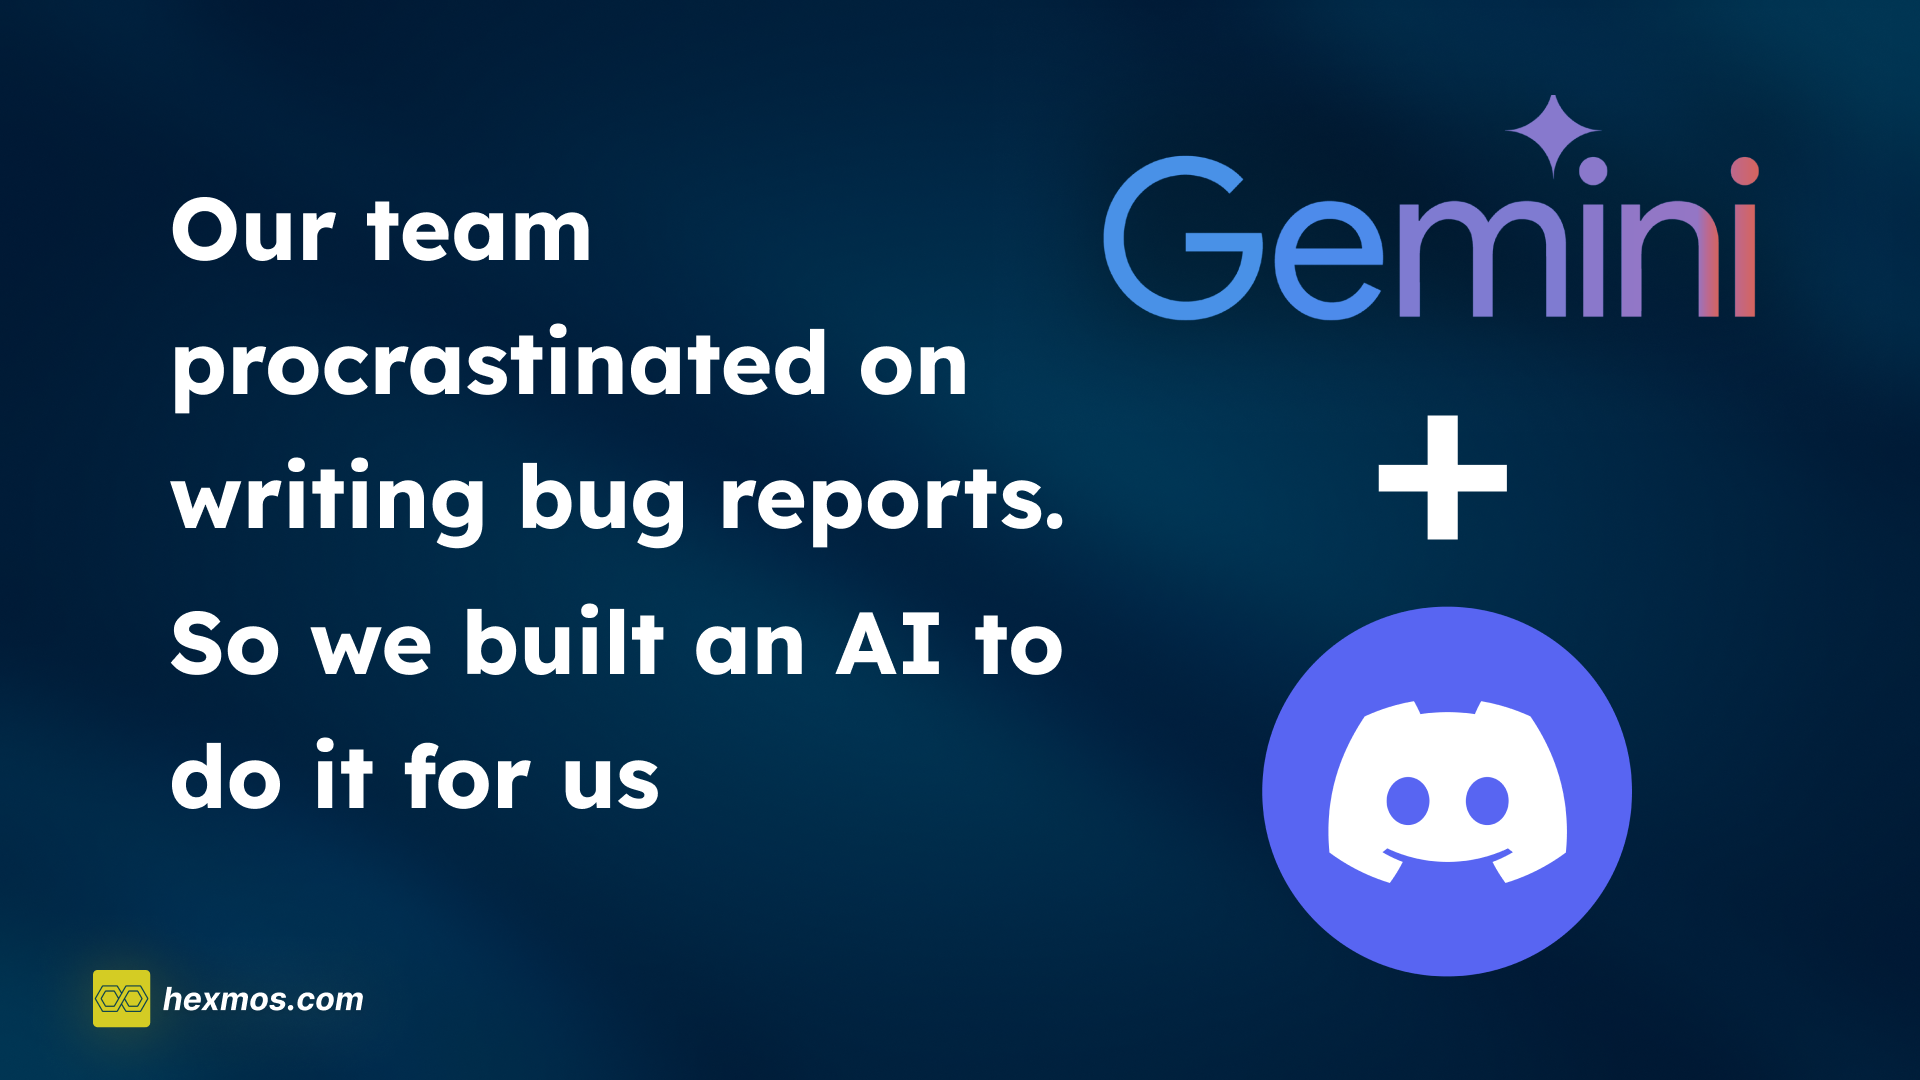
Our team procrastinated on writing bug reports. So we built an AI to do it for us
We used to postpone writing bug reports since its a hassle. See how we overcame this problem with the help of AI

1. Case Study : AI for creating Bug Reports
Team Problem:
Keeping track of multiple messages in a team can be quite difficult. Discord, a popular platform for team discussions, can soon become overwhelmed with lengthy conversations, making it difficult to find important messages and at times, you can even forget those discussed points .
Team Solution:
What if there was a way to automatically summarize these messages and convert them into actionable insights?
In this article, we will explore a basic approach to do that—using Python to scrape Discord messages, harnessing the summarization power of Google Gemini (a powerful tool that uses Machine learning models for text generation) , and effortlessly integrating these summaries into GitLab as issues. This process not only saves time but also ensures that your team's most important discussions are efficiently tracked and managed.
How it works
Our approach:
- Fetching the discord message chunks from the server.
- Summarizing it with the help of Gemini
- Creating an issue in the Gitlab repo that contains the summary of selected discord issue.
Let's take a quick look on how to implement this idea:
The whole task is divided into 3 basic sections:
Watch Discord
We are utilizing Discord APIs to helps us gather messages from a Discord channel, so we can later process and summarize them using tools like Gemini. This way, we can quickly organize and make sense of large amounts of information.
We need to create a Bot to get the messages from Discord Channel .
So , let's start by creating a Bot in a new application.
a) Creating a new application
-
Login to Discord
-
Navigate to the application page

-
Click on the "New Application" Button on the top right corner.

-
Give the application name and create.


b) Setting up your Bot
-
Navigate to the Bot tab in application page

-
Provide the username and note the Bot Access Token as we need it in the future for connecting this Bot to the respective discord channel.
-
If in case you can't see the Bot Access Token , click the Reset Token to generate a new Bot Access Token.

-
If you want others to invite your Bot to any servers, make sure the public bot is ticked.


Make sure message content intent is ticked to enable your bot to receive messages.

Great! So now you have successfully set up your Bot account.
c) Inviting your Bot into your server
-
Head to the Oauth2 tab and navigate to the OAuth2 URL Generator section.

-
Click the Bot checkbox and Bot permission section will appear.

-
Upon clicking the bot checkbox, there will be another box for providing Bot permissions. Choose the permissions as per your usecase. Be careful when you provide the administrator permission to the bot.

-
You can see a link will appear in the generated URL section.

-
Open that url in a new tab and you'll be prompted to select the server.
-
After you select the server, click authorize and you're done with the Bot creation part!


For more information, you can visit :- https://discordpy.readthedocs.io/en/stable/discord.html
d) The Coding part!
We need to create a Python script to scrap the discord messages in the specific channel.
i) Make sure you have the right permissions
- We need the channel ID for scraping and it can only be obtained when you're granted administrator privilege.
ii) Install the required libraries
pip install discord
iii) Provide the Bot Access Token
bot_token = **os.getenv('DISCORD_BOT_TOKEN')
- Bot Access Token is necessary to run the client.
iv) Giving the right permission to the client
intents = discord.Intents.default()
- Discord Intents are a way of telling which events your bot wants to receive.
- This line creates an Intent object with default settings and by default, the bot will receive a minimal set of events- messages,reactions and basic events.
v) Enabling the message intent
intents.messages = True
- This line allows the bot to receive events related to messages.
vi) Configuring Bot Client
client = discord.Client(intents=intents)
- This line configures the bot client with the right event permissions.
vii) Defining an event handler in Python
async def on_ready():
    print(f'Logged in as {client.user}')
    guild = discord.utils.get(client.guilds)  # Get the first guild (server) the bot is in
    if guild:
        print(f'Connected to guild: {guild.name}')
        for channel in guild.channels:
            print(f'Channel: {channel.name} (ID: {channel.id})')
    else:
        print('No guilds found.')

    channel = client.get_channel(channel_id)
    if channel:
        async for message in channel.history(limit=100):
            print(f'{message.author}: {message.content}')
    else:
        print('Channel not found.')
- Firstly, the client retrieves the first guild/server it is connected to.
- Secondly, it checks for the channel with the given channel ID among the list of channels, and if it matches, the client starts an asynchronous loop to fetch the last 100 messages.
viii) Starting your Bot
client.run(bot_token)
- This is the most important step as this command starts your bot and listens to all the events and messages being send.
You're done with the basic scraping part!
Identify Bug Reports with LLM
Summarization part is done with the help of Gemini. So basically we send the discord messages to Gemini and it does the summarization part.
1. Gemini API Key
-
Navigate to Google AI Studio API Link
-
Click "Get API Key in Google AI Studio"

-
Click create API key. An API key will be generated and note it down for future use.


2. Installation of required libraries
a) Installation of google-generativeai library
- Please make sure that you have Python version greater than 3.9.
pip install google-generativeai

3. Summarization of scrapped messages
I've given below the whole code that's required for summarization part
@client.event
async def on_ready():
    global summary_data, formatted_summary  # Declare as global to modify them
    print(f'Logged in as {client.user}')

    # Fetch the guild to make sure the bot is connected to it
    for guild in client.guilds:
        print(f'Connected to guild: {guild.name}')

    # Read messages from the source channel
    source_channel = client.get_channel(source_channel_id)
    if source_channel:
        messages = []
        async for message in source_channel.history(limit=100):  # Limit to first 70 messages
            messages.append(f'{message.author}: {message.content}')

        # Combine all messages into a single string
        all_messages = "\n".join(messages)

        # Summarize the collected messages
        response = chat.send_message(
            f"Summarize the following messages in JSON format including issue name, issue description, and people involved. "
            f"Use the following format:\n"
            f"{{\n"
            f"  \"Issue_1\": {{\"issue_name\": \"...\", \"issue_description\": \"...\", \"issue_people\": \"...\"}},\n"
            f"  \"Issue_2\": {{\"issue_name\": \"...\", \"issue_description\": \"...\", \"issue_people\": \"...\"}},\n"
            f"  ...\n"
            f"}}\n\n{all_messages}"
        )
        summary = response.text.strip()  # Strip any extra whitespace or newlines

        # Print the raw response for debugging
        print("Raw Summary Response:\n")
        print(summary)

        # Clean up JSON formatting issues
        summary_json = summary.replace("‘", '"').replace("’", '"').replace('“', '"').replace('”', '"')

        # Print the formatted JSON for debugging
        print("\nFormatted Summary JSON:\n")
        print(summary_json)

        # Parse the summary into a dictionary for easier access
        summary_data.clear()  # Clear previous data
        try:
            summary_data = json.loads(summary)
        except json.JSONDecodeError as e:
            print(f"Failed to decode JSON: {e}")

        # Prepare the formatted summary in plain text format
        formatted_summary = ""
        issue_number = 1
        for issue_id, issue_info in summary_data.items():
            issue_text = (
                f"**Issue Name**: {issue_info.get('issue_name')}\n"
                f"**Issue Description**: {issue_info.get('issue_description')}\n"
                f"**People Involved**: {', '.join(issue_info.get('issue_people', []))}\n\n"
            )
            formatted_summary += issue_text
        print(f"Formatted Summary:\n{formatted_summary}")

    else:
        print('Source channel not found.')
Explanation:
- First of all, while coming to the summarization part, I have provided 2 channels- the source channel from where the messages should be read and the target channel to where the summarized message must be sent.
- If there is a source channel, an empty message list is created and is read by:
async for message in source_channel.history(limit=100):  # Limit to first 100 messages
            messages.append(f'{message.author}: {message.content}')
- Provide a prompt to Gemini regarding the format needed in the summarized message. I have given a sample prompt:-
response = chat.send_message(
            f"Summarize the following messages in JSON format including issue name, issue description, and people involved. "
            f"Use the following format:\n"
            f"{{\n"
            f"  \"Issue_1\": {{\"issue_name\": \"...\", \"issue_description\": \"...\", \"issue_people\": \"...\"}},\n"
            f"  \"Issue_2\": {{\"issue_name\": \"...\", \"issue_description\": \"...\", \"issue_people\": \"...\"}},\n"
            f"  ...\n"
            f"}}\n\n{all_messages}"
        )
- Finally we need to send the summarized message stored in the response variable to the target channel ID.
await message.channel.send(f"**Formatted Issues Summary:**\n{formatted_summary}")
Hence, the summarization part is done.
Recommend Issue Creation
So as of now, we have the summarized text messages in our hand. Now we need to post these issues into GitLab and for that, we need to get the GitLab integration done first.
1. Installation of required libraries
pip install python-gitlab
2. GitLab Configuration
-
Replace the GitLab URL with your GitLab server URL
-
To generate the group access token, go to the access token tab under the user settings.

-
Provide the token name and select the scope as API.

-
Click "Create Project Access Token".

-
Initialize the Gitlab Connection by:


gl = gitlab.Gitlab(GITLAB_URL, private_token=ACCESS_TOKEN)
Create Issues
Fetching the Project ID
- Project ID is required as the GitLab needs a specific file path for the issue to be created.
- To list the available project IDs:
projects = gl.projects.list()
print(projects)
Issue Creation
- Fetch the project.
project = gl.projects.get(PROJECT_ID)
- Provide the issue details.
 issue_data = {
        'title': 'New Issue Title',  # Set your issue title here
        'description': 'Description of the issue',  # Add the description here
        'labels': ['bug'],  # Optional labels
        # Add other optional fields like assignee_ids, milestone_id, etc.
    }
- Create the issue.
issue = project.issues.create(issue_data)
So now the basic flow for all three stages is detailed. You need to integrate all the 3 logics to get the basic workflow done.
You can view the full modified code here :- Python file
Bug Description Generator Demo:
- The User mentions the bot in the channel. The Bot generates the issue titles and prompts the user to choose between "view issue" and "publish issue".

-
User clicks "view issue" to see the corersponding issue details.

-
User clicks "publish issue" to publish the issue directly to their gitlab.


2. The General Idea - Watch - Understand - Do

This is the general idea behind the Bot . The stages can be classified to:
1. Watch - In this stage the Bot monitors recent chat messages.
2. Understand - It understands the discussion topics and identify patterns in messages. This ia where the AI parsing phase comes.
3. Do - As per our use case, we can execute our Bot to perform actions - in our case we needed a Bot to summarize our daily discussed issues/suggestions and publish into our own issueboard.
3. Similar Use Cases
The Issue summarizer or bug description generator is only one of the applications of this combined technology. Some of the use cases are:-
1. Project Management - The bot can can be customised further to provide meeting summaries, capturing key points, decisions and action items , making it easier for team members to stay informed without needing to review the entire conversation.
2. Email Digest - The bot can summarize emails or messages , providing a daily or weekly digest of important communications.
3. Research and Analysis - Researches can use the bot to summarize academic papers,reports, extracting key findings , methodologies and conclusions . It can even assist in summarizing long discussion threads, helping people to catch up on main points.
4. Data Analytics - The bot can summarize analytic reports , highlighting key metrics,trends and insights without requiring a deep dive into the data.
5. Customer Support - For customer support teams, the bot can be customised to summaries of common issues or questions raised by customers, helping to create or update FAQ sections.
These are only some of the applications. Once we use this technology on a large scale in our day to day lives, we will benefit from this in many ways.
4. Future Works and Conclusion
By integrating scraping, summarization, and GitLab issue creation, we’ve created a powerful workflow that transforms Discord chat data into organized, actionable insights. This approach not only enhances team productivity but also ensures that critical information is preserved and easily accessible for future reference.
With the steps outlined in this article, you can effectively manage your team's communication, turning chaotic message threads into structured summaries and organized tasks. Whether managing a small project or overseeing a large team, this workflow is a valuable tool in your collaborative system.

FeedZap: Read 2X Books This Year
FeedZap helps you consume your books through a healthy, snackable feed, so that you can read more with less time, effort and energy.